


We all love the cozy, inviting ambiance that wax melts bring to our homes. But sometimes things don't go as smoothly as we'd like. Whether it's a scent that's barely there or wax that's stubbornly sticking to your warmer, we've got you covered. We're diving deep into some common wax warmer problems and offering practical solutions to keep your melt sessions stress-free and delightfully fragrant.
1. Weak Scent Throw? Let's Amp Up the Aroma!
There’s nothing more disappointing than a wax melt that promises a delightful fragrance but delivers a whisper. If you’re experiencing a weak scent throw, here’s what you can do:
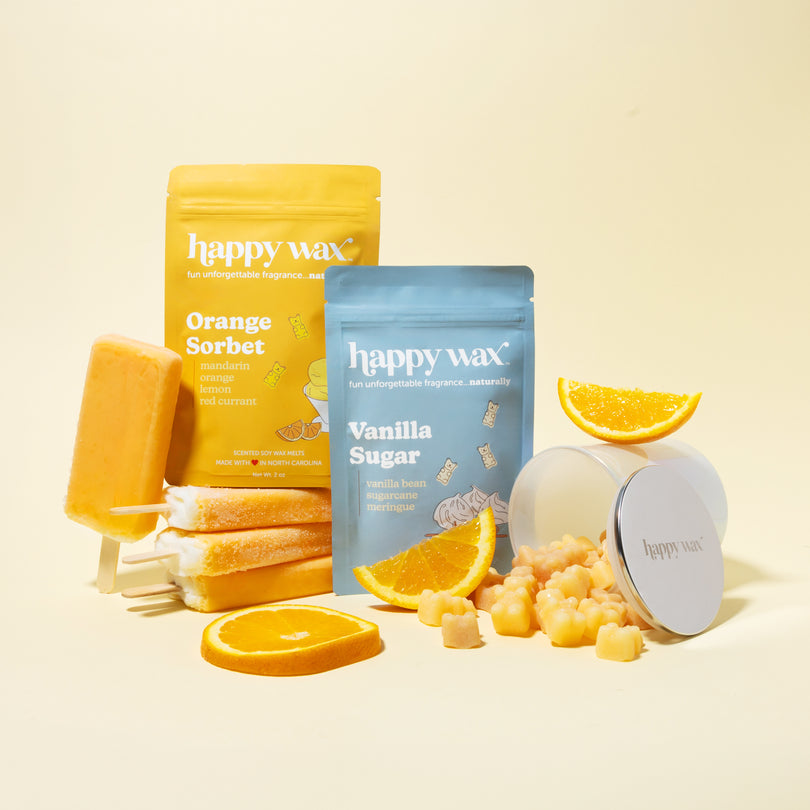
- Check Your Wax Melt Quality: Not all wax melts are created equal. High-quality wax melts, like our Happy Wax melts, are formulated with a higher concentration of fragrance oils than the industry standard.
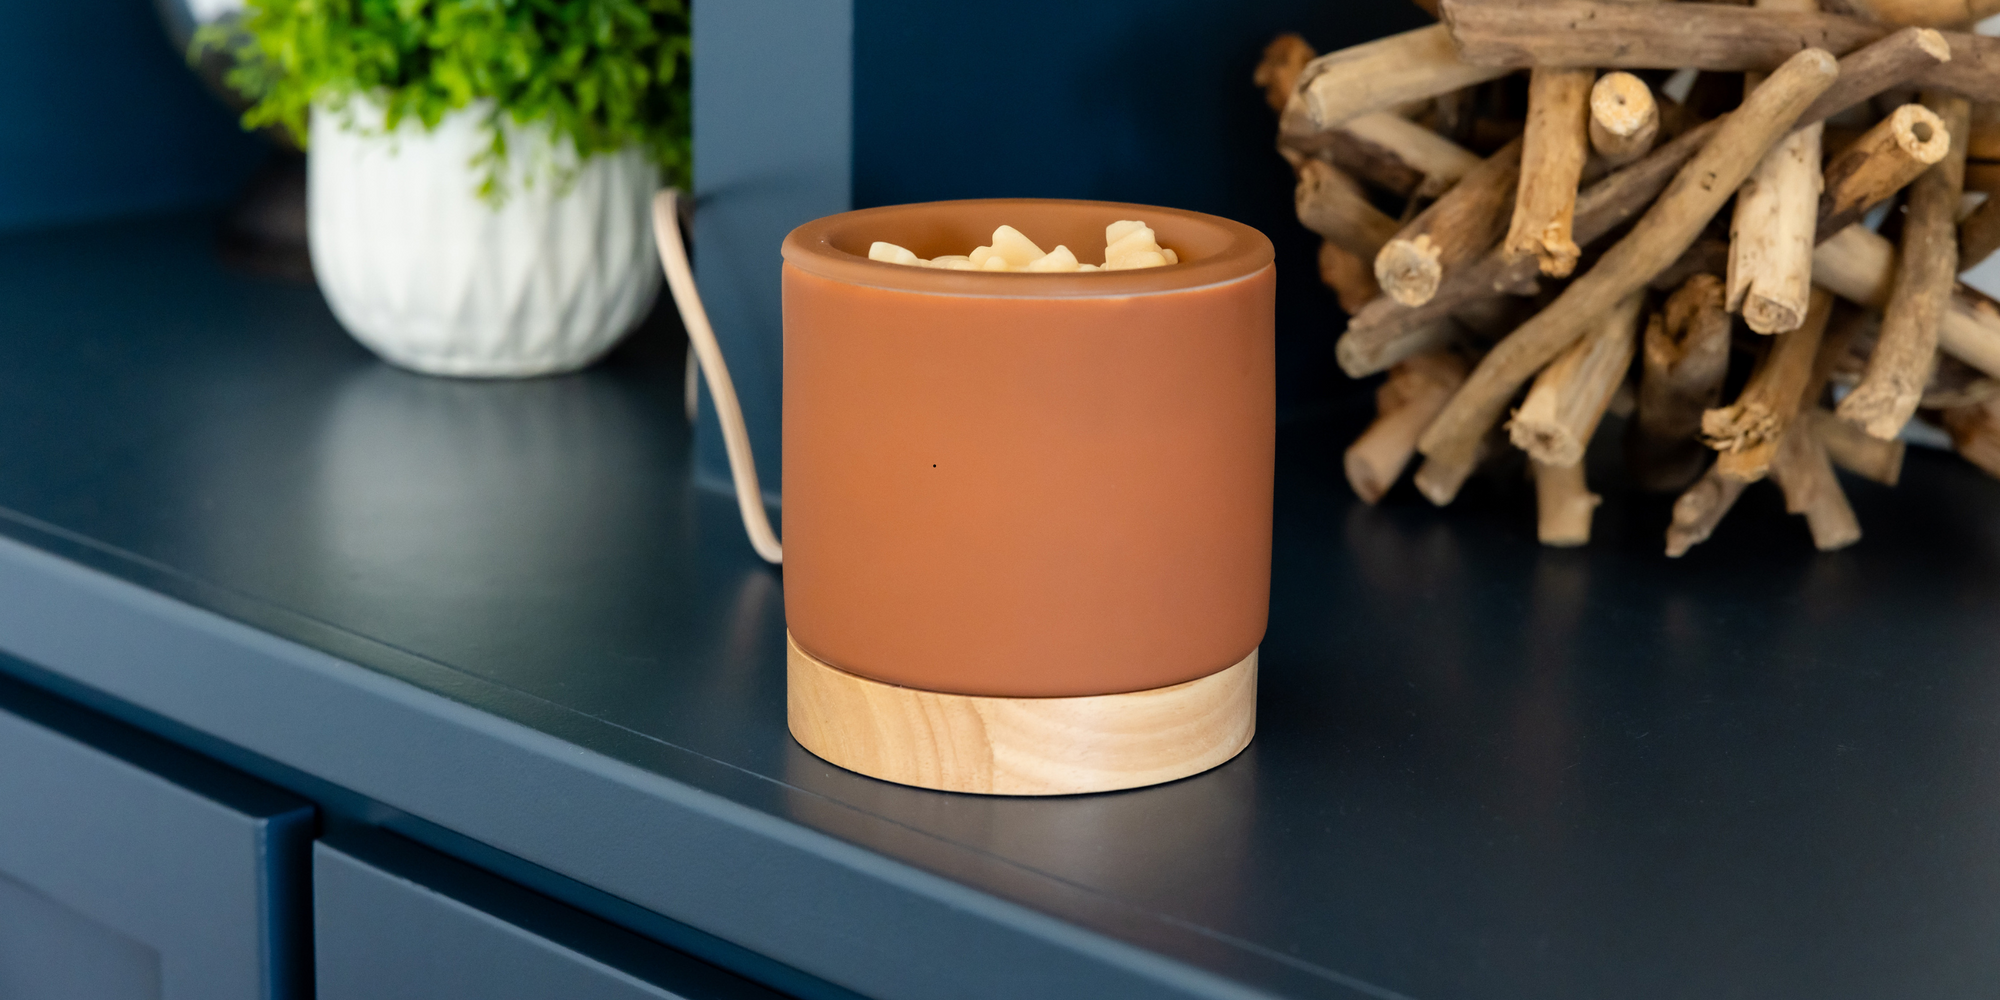
- Warmer Placement Matters: Airflow can significantly impact scent distribution. Place your warmer in a central location, away from drafts, to allow the fragrance to circulate evenly.
- Warmer Temperature: Wax warmers can have varying temperatures. Ensure your warmer is reaching an optimal temperature for your wax type. Some melts need higher heat to release their full fragrance potential.
- Room Size: A small wax warmer may not be powerful enough for a large room. Match your wax warmer size to the size of your space. For maximum wax capacity, check out our Mod Max warmer.

2. Uneven Melting? Get That Smooth, Consistent Melt!
Seeing your wax melt melt unevenly? It’s a common issue, especially with certain warmer types. Here’s how to fix it:
- Warmer Surface Temperature: Check if your warmer’s heating surface is level and heating evenly. Uneven heating can lead to uneven melting.
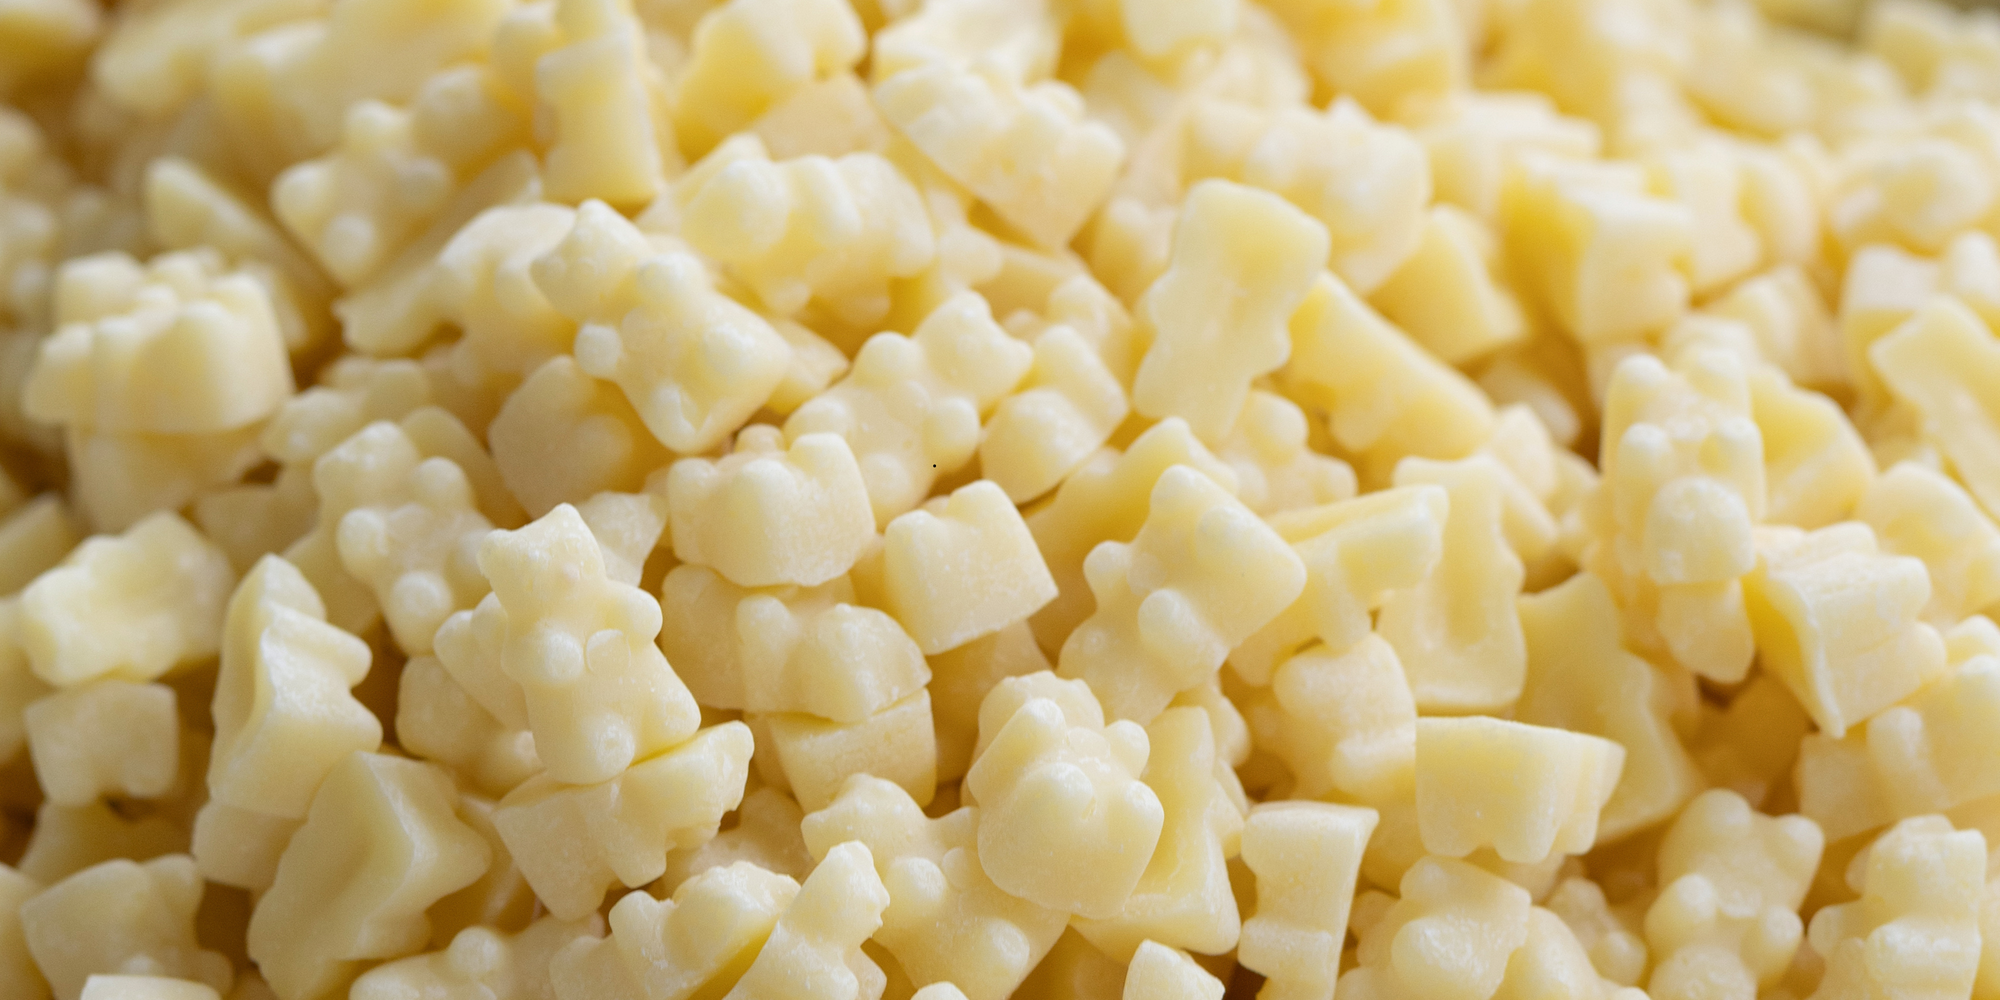
- Wax Melt Shape and Size: Larger shaped melts may take longer to melt evenly. Our soy wax melts are portioned smaller than standard cubes so they will melt quicker and more evenly!
- Warmer Type Problems: If you're using a hot plate style warmer, ensure the plate itself is level and clean. If using a bulb style warmer, ensure the bulb is the correct wattage. It always helps to give your warmer some TLC. Learn about how to care for your Happy Wax warmer with these tips.

3. Wax Sticking to Your Warmer? Easy Clean-Up Solutions!
Nobody likes scrubbing hardened wax. Here are some simple solutions to prevent and tackle sticky wax:
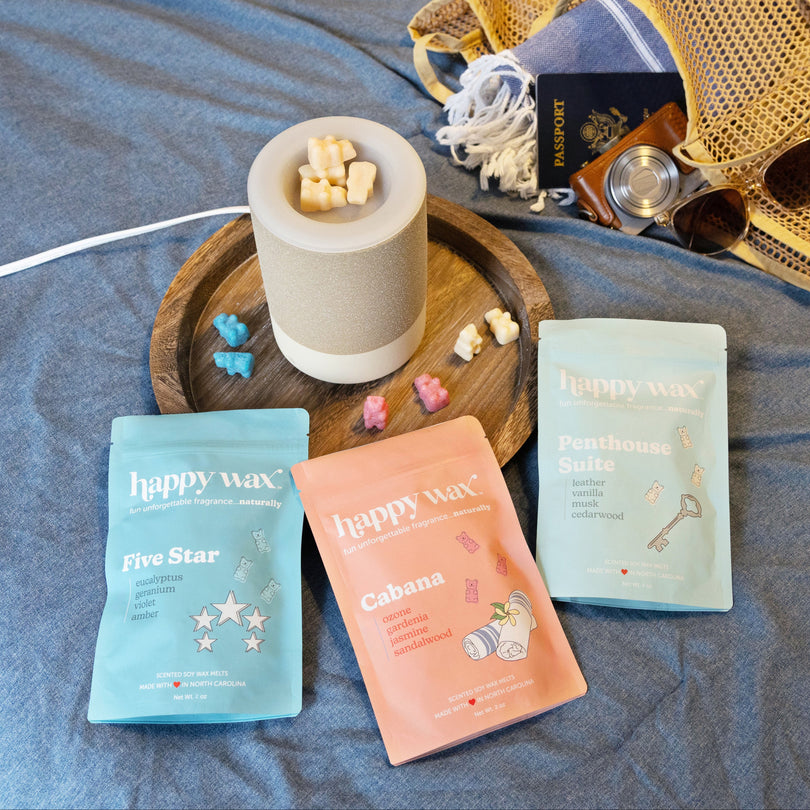
- Silicone Dish: All Happy Wax warmers come with our patented "no-scrape" silicone dish. When your wax is cooled, simply pop it out of the silicone dish and pop in your next scent. No mess!
- Cotton Balls or Paper Towels: While the wax is still warm (but not hot!), use cotton balls or paper towels to absorb the melted wax.
- Freezer Method: Place your warmer dish in the freezer for 15-20 minutes. The wax will shrink and easily pop out.
- Warm Water Method: Fill the warmer dish with warm (not boiling) water. The wax will soften and float to the surface.

General Wax Warmer Help Tips:
- Regular Cleaning: Clean your warmer regularly to prevent buildup and ensure optimal performance.
- Quality Warmers: Invest in a quality wax warmer from a reputable brand.
- Follow Instructions: Always follow the manufacturer’s instructions for your specific warmer model.
We hope these tips help you solve your wax warmer woes and keep your home smelling amazing! At Happy Wax, we’re committed to providing you with the best wax melt experience possible.
Happy Melting!