


Welcome to the wonderful world of flameless home fragrance! If you’ve just snagged your first Happy Wax Starter Kit, you’re only minutes away from a better-smelling home.
But setting up a "scent station" is about more than just plugging in your warmer. To get the most out of your wax melts, follow our ultimate checklist to create a safe, stylish, and effective fragrance hub.
Step 1: Choose Your "Scent Sanctuary"
Location is everything. For the best scent throw, place your warmer in a central area with good airflow, but away from drafty windows or air purifiers that might suck the scent away before you can enjoy it.
Pro Tip: Scent throws best when it isn't competing with strong kitchen odors or bathroom dampness. Aim for a living room mantle or an entryway console.
Step 2: Safety First (Level Your Surface)
Unlike candles, wax warmers don't have an open flame, making them much safer for homes with pets or kids. However, you still want to ensure your scent station is on a flat, stable surface. The National Fire Protection Agency recommends keeping all electric appliances at least three feet away from flammable materials like curtains or loose papers.
Step 3: Check Your Power Proximity
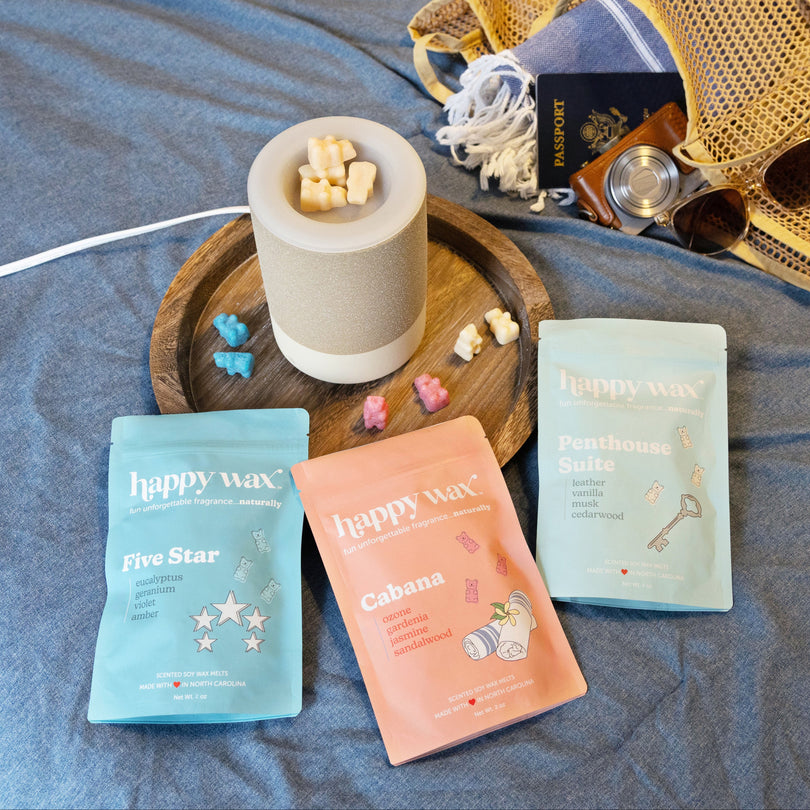
Happy Wax warmers come with a 3-foot power cord. Ensure your station is close enough to an outlet so the cord isn't pulled tight, creating a trip hazard. If you’re short on counter space, our Outlet Warmers are the ultimate space-saving solution.
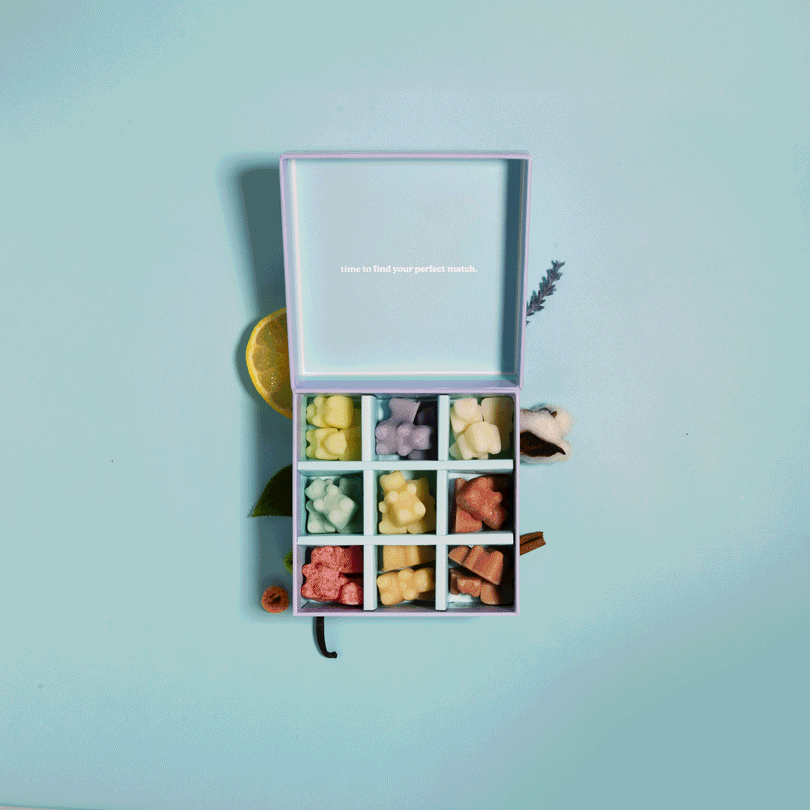
Step 4: Pre-Mix Your "Signature Scent"
One of the best parts of being a "wax fanatic" is custom blending. Before you start your warmer, choose your bears!
The Golden Ratio: For a Signature or Mod Warmer, we recommend starting with 2–3 soy wax bears. For a Mini Mod or Outlet Warmers, we recommend starting with 1-2 soy wax bears. And for our largest Mod Max warmer, you can load in anywhere from 5-7 bears to start.
Try a "Recipe": Mix an equal ratio of Vanilla Sugar with Lemon Verbena for a "Lemon Pound Cake" vibe.
Step 5: Master the Timer Settings
Gone are the days of worrying if you left the candle burning. Our warmers feature an integrated 3-6-9 hour timer.
3 Hours: Perfect for a quick refresh before guests arrive.
6 Hours: Ideal for a rainy afternoon of reading.
9 Hours: Set it and forget it for a full day of "scent-sational" bliss.
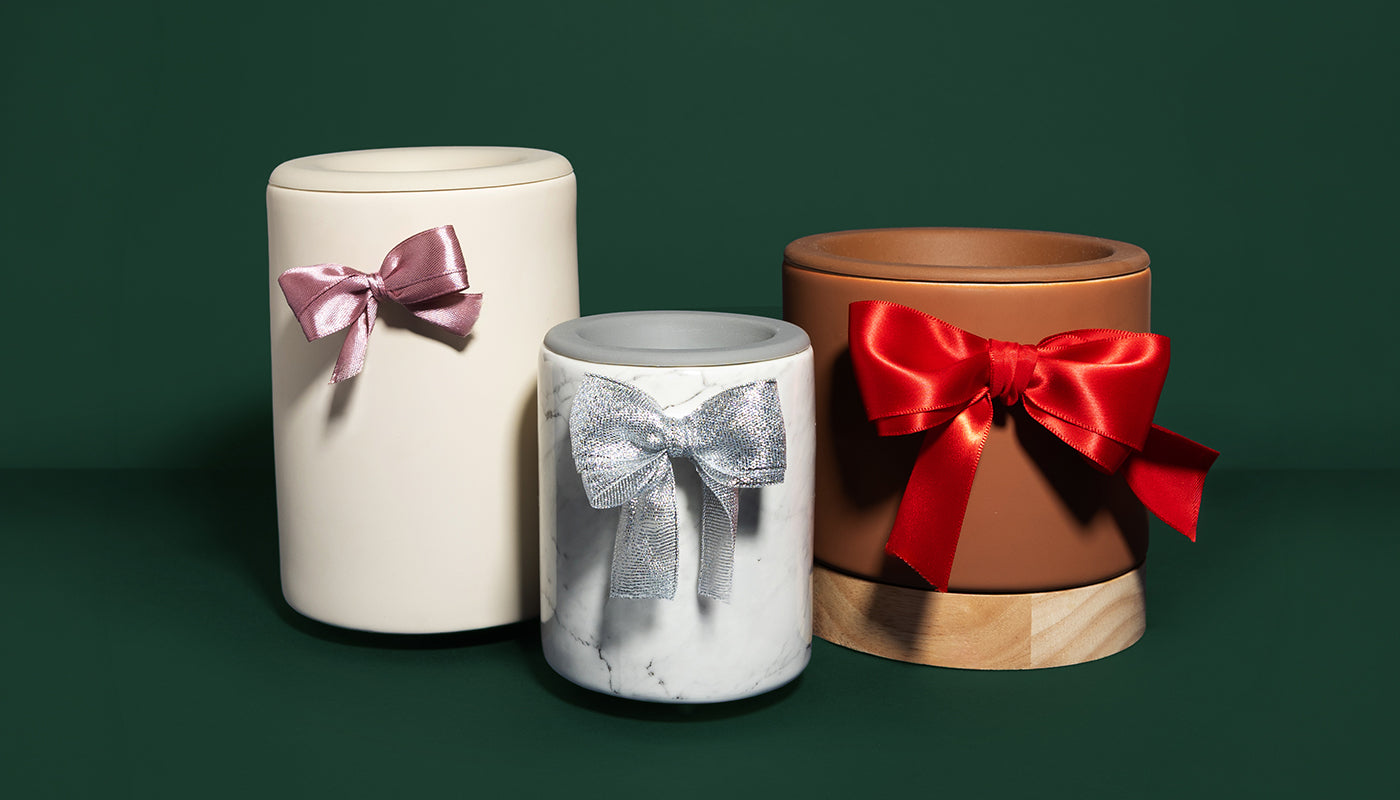
Step 6: Organize Your "Stash"
A great station needs a place for your extras. Don't leave your wax pouches scattered! Grab a Wax Melt Storage Jar (or three!) to keep your bears airtight and visible.
Fun Fact: Proper storage helps maintain the "flash point" of the fragrance oils. As Beat notes, keeping scented products in airtight containers prevents the aroma from dissipating prematurely.
Step 7: The "No-Scrape" Cleanup Prep
The final step in a pro setup is preparing for the swap. Ensure your Silicone Dish is seated properly in the warmer. Because it’s silicone, once the wax cools, it will pop right out—no scraping, no mess, and no hot wax spills!
Join the Scent-Sation!
Now that your station is live, we want to see it! Does your station feature a "Zen Den" vibe or a colorful "Scent Library"?
Join our Facebook VIP Group to post photos of your setup, get exclusive early access to new scent drops, and swap storage hacks with thousands of other Happy Waxers.


